
Start with images you already have
Select image files or a folder and see them together. Prepare photographs, exported artwork and other still images without rebuilding each task in a separate online tool.
A free local Windows utility
Resize, crop, convert and prepare one photograph or a batch. Make useful output copies on your own computer.
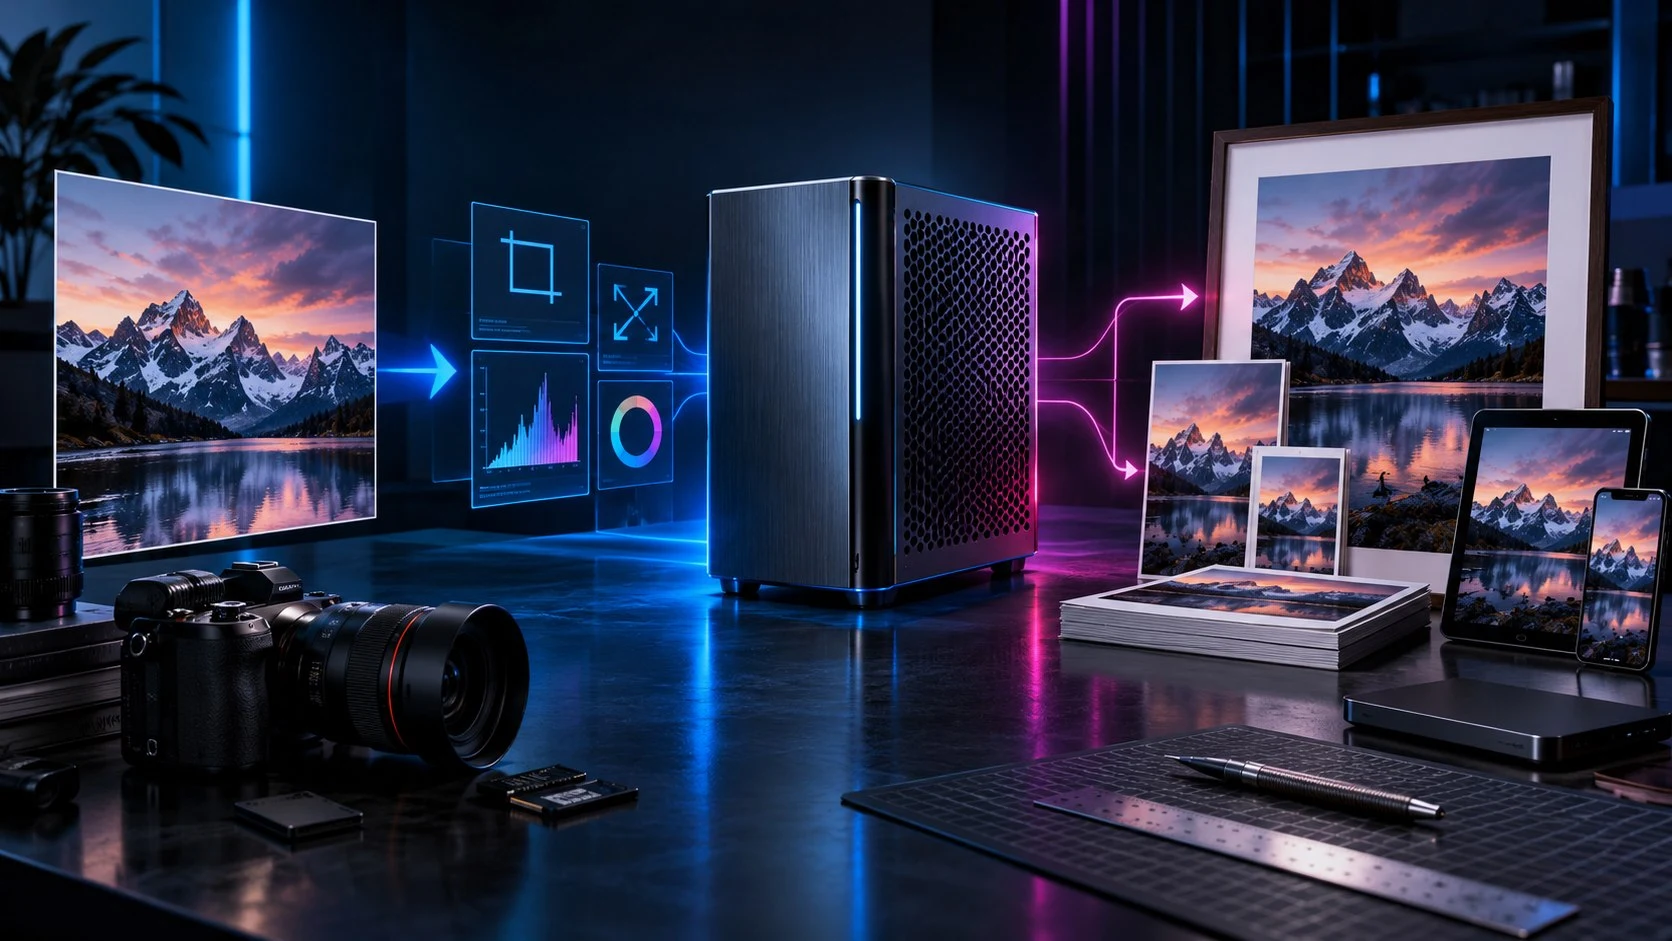
Less repeated preparation
A good image still needs the right dimensions, framing, format and file size before it belongs on a website, in a product listing or in a shared folder. Bring those decisions into one focused local workspace.
Select image files or a folder and see them together. Prepare photographs, exported artwork and other still images without rebuilding each task in a separate online tool.
A wide website image, a square thumbnail and a portrait placement need different framing. Choose the intended use and inspect its preview before processing.
The tools described here process on your Windows computer. You do not need to upload private photographs to an online resizing or conversion service.
The original is not the output. Create separate prepared copies, keep the source and return to it when another size or format is needed.
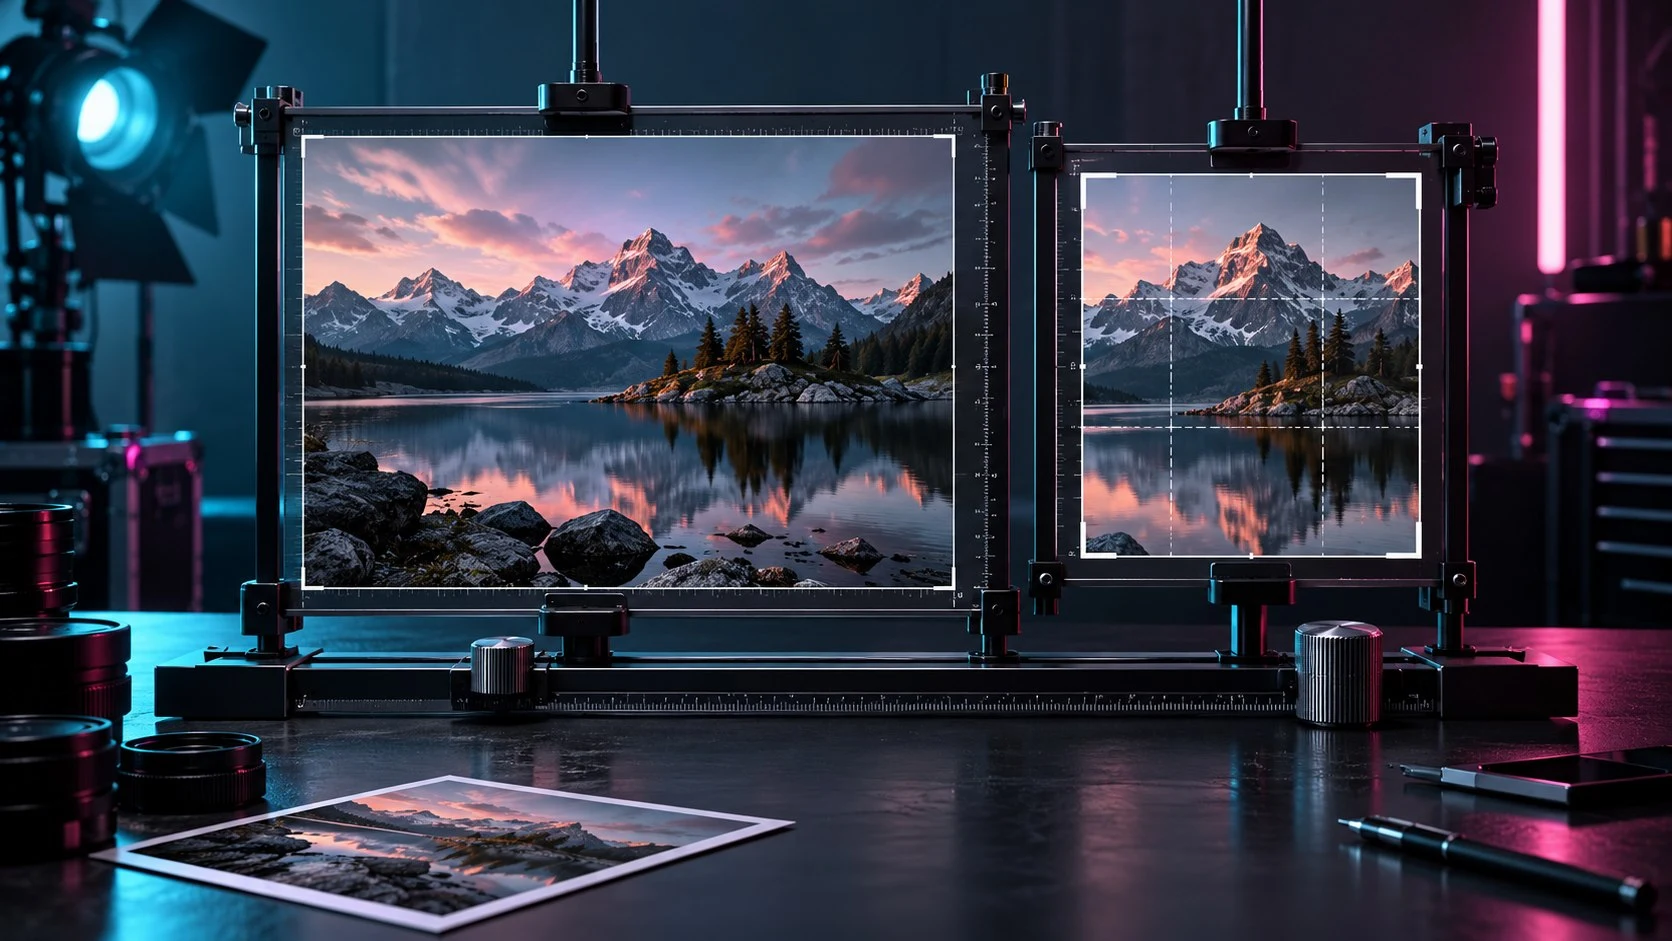
The right shape for the job
Fit the whole photograph inside a boundary, crop it to fill a frame or place it on a canvas. Choose the approach that suits the subject and its destination.
Check the preview before making a set. The original stays available for another crop, so a website banner does not become your only remaining version.
From source to prepared copies
Work through the choices once, then apply the selected processing to your image batch. Review exceptions rather than hiding them behind a single success message.
Select files or a folder. Inspection identifies readable images and reports files that cannot be processed, while the image list keeps your batch visible.
Start with a built-in recipe or choose the relevant tools. Combine resizing, cropping, conversion, optimisation and other steps for the job you actually need.
Inspect the selected photograph with its framing and treatment. Pay particular attention to faces, products, text, transparent edges and unusually narrow images.
Look into unsupported input, transparency conflicts, small sources and unrealistic file-size goals. Resolve blocking issues before starting the batch.
Confirm your destination, naming and collision policy. Produce output copies, with progress and cancellation available during processing.
Review completed, failed and cancelled results. Open your output folder and check the versions intended for publication, especially crops and colour-sensitive work.
Useful tools, working together
Use one tool for a quick correction or combine several steps for a whole collection. The focus is deliberate image preparation, not generating an unrelated scene.
Choose dimensions or an intended-use preset. Fit a photograph inside a boundary, fill the frame or add a canvas without treating every destination as the same shape.
Adjust the crop and focal placement for the output you need. Check the preview so a portrait, product or important detail is not lost at the edge.
Prepare compatible JPEG, PNG, WebP, BMP, GIF, TIFF and ICO outputs. The installed toolkit checks its actual format capabilities before processing.
Choose a quality preset or a file-size goal for compatible lossy output. Review the result; every photograph compresses differently and an exact target is not guaranteed.
Apply text or a logo image, with placement and opacity controls. Make identifiable sharing copies without adding the mark to your original source.
Produce several sizes from one source, including website, product and avatar sets. Separate size suffixes make the resulting versions easier to recognise.
Select the placements you need and generate separate shaped outputs. This prepares local files; it does not publish or schedule posts to social accounts.
Correct orientation, rotate or flip. Local enhancement uses resizing and sharpening, not reconstruction of missing detail or generation of a different scene.
Create re-encoded sharing copies without embedded location, camera or other container metadata. Visible information in the picture still needs your own review.
Inspect preflight issues, preview a selected image and follow processing progress. Cancel when needed, then review successful, failed and stopped outputs separately.
Choose a compatible output
The installed toolkit probes its format capabilities. These choices are for still-image preparation, not a promise to preserve every animation, page or layer inside a source file.
Choose JPEG when a compact photographic output fits the task. It cannot retain transparent areas, so review the background and compression trade-off.
JPEG
PNG is useful where a lossless output or transparent edges matter. WebP offers modern image output with quality controls when supported by the installed build.
PNG · WebP
BMP, GIF and TIFF provide further still-image format choices. Conversion is not a guarantee that animation or every page in a source will survive.
BMP · GIF · TIFF
Use ICO for compatible icon-sized outputs. Check the small result at the size it will be used; a detailed photograph does not automatically become a clear icon.
ICO
One source, several destinations
Thumbnail sets and selected social placements create separate output branches. Each has its own size or placement rather than blindly stretching the same crop into every shape.
A Web Set provides 1200, 600, 300 and 150 pixel targets. Choose fit or fill, review the subject and retain the original when a larger output is needed.
Prepare 1000, 500 and 250 pixel targets for a collection of product-image copies. Consistent output dimensions do not replace checking each product’s framing.
Create 512, 256, 128 and 64 pixel targets. A smaller source will not acquire genuine detail through enlargement; inspect the face or mark at its final size.
Choose the relevant placements and receive separate local versions with recognisable suffixes. Upload them yourself using your normal publishing workflow.
Smaller files, considered choices
File size depends on the source, dimensions and chosen format. A quality preset or size goal is a useful starting point, not a guaranteed percentage saving or a substitute for looking at the output.
Choose Best Quality, Balanced, Small File or a custom quality level. JPEG and lossy WebP trade some information for reduced file size.
For compatible lossy output, the toolkit searches within its quality range toward the selected size goal. If the target is impractical, reduce dimensions or change the goal.
High-quality resizing and light sharpening can help presentation. They do not reconstruct detail absent from the original or promise a print-ready image from any small source.
Inspect edges, gradients, lettering and skin tones. Use the prepared copy at its intended display size and keep the original for future choices.
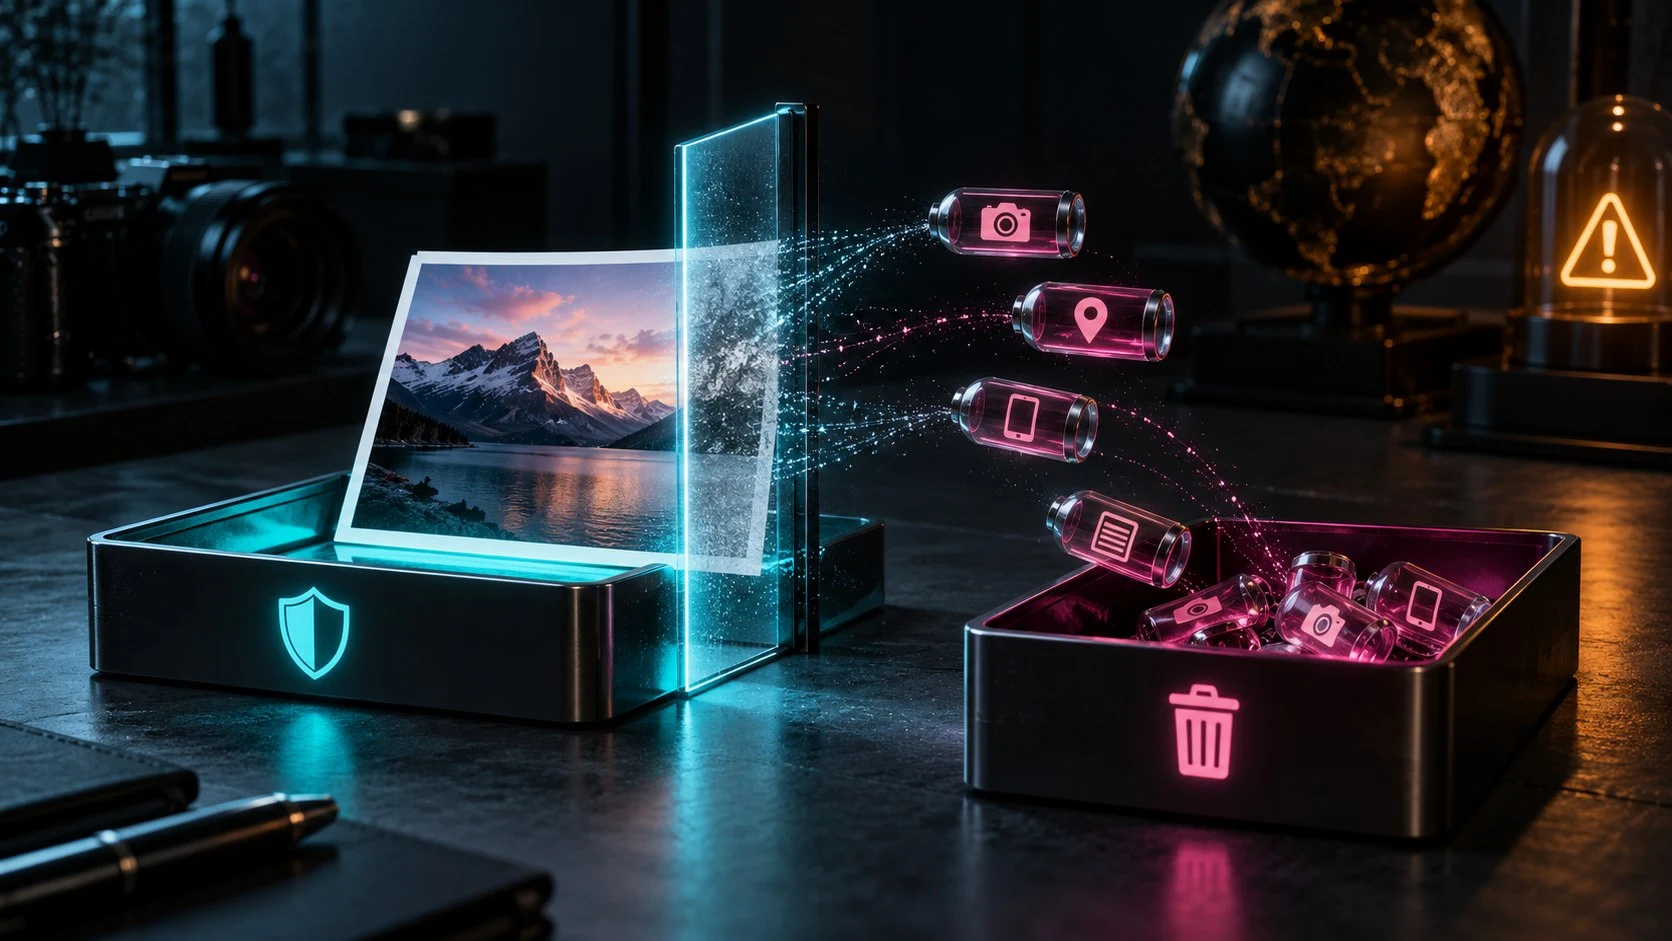
Prepare a sharing copy
Image files can contain location, camera and other identifying metadata. Re-encoded output removes container metadata while the original remains separate.
This does not anonymise visible content. Transformed copies also do not retain arbitrary metadata or embedded colour profiles, so keep originals when those details matter.
Start with a sensible setup
Choose a supplied recipe, then adjust its settings for your current batch. They are practical starting points, not promises that one preset suits every source or publishing requirement.
Start with resized WebP website copies or smaller JPEG email copies. Review the actual output and recipient requirements before sharing.
Use product-image or thumbnail starting points, then choose the framing and dimensions appropriate to the images you are preparing.
Maximum Quality and Smallest Practical Files favour different goals. Retain your source and choose based on the task rather than assuming smallest is always best.
Applied recipes populate processing settings. Change those settings for the current job; this page does not promise a persistent custom-recipe library or cloud sharing.

The local Image Toolkit has no separate purchase price. Create your account and open the product through Desktop Command Centre on Windows.
Use the tools for photographs and artwork you already have. Image generation and paid cloud reconstruction are different workflows, not included local features.
Choose where outputs go and how names are handled. Replacing an existing output is not version history, so keep your own backups and review the collision policy.
Prepare a batch, a thumbnail set or selected placement versions. Preview, preflight and results keep important decisions visible throughout the job.
Keep your workflow connected
Each card opens that product’s own website, with more detail about its purpose and tools.
Open your supported Windows products from one connected VISINVOKE account.
Convert compatible documents, data, images, audio and video locally.
Prepare documents with focused local PDF tools.
Copy named folder projects to your selected storage, with exclusions and run reports.
Arrange and layer images into a finished composition.
Organise USB content with deliberate device selection and safety checks.
Product artwork illustrates capabilities, not application screens.
Quick answers
Clear access, practical format choices and honest processing boundaries.
Yes. The local Image Toolkit is a free VISINVOKE Windows utility accessed through Desktop Command Centre. Create a free VISINVOKE account first, then use your account installer page to get DCC.
The resize, crop, conversion, watermark and other local processing described here run on your computer. Any separately offered paid cloud reconstruction is a different workflow, not part of this free local feature set.
Yes. Thumbnail sets and selected social placements create separate output variants from a source. Review each crop and result rather than assuming one framing suits every placement.
The toolkit checks JPEG, PNG, WebP, BMP, GIF, TIFF and ICO support in the installed build. Not every format preserves transparency. Use it for still-image outputs, not animation, multipage or layered-document preservation.
Processing writes output copies and refuses to overwrite a source file. Choose the destination and collision policy carefully: replacing an existing output is not version history. Keep your own backups.
Transformed outputs are re-encoded and do not preserve arbitrary metadata or embedded ICC colour profiles. Keep originals when those details matter, and check output colours before colour-critical use. Removing metadata does not remove visible personal information from the picture.
Continue in VISINVOKE
Create a free VISINVOKE account first. Get Desktop Command Centre from your account installer page, sign in on Windows and open Image Toolkit.
Add your images, choose the output you need and prepare a set of useful local copies.